Once again I feel like I’m missing something. Lots of praise but I just don’t see this as a net positive. Here is a link.
“Today’s vote also makes clear that the Commission will exercise its authority over broadband in a narrowly tailored fashion— without rate regulation, tariffing, or unbundling—to foster continued innovation and investment”
Let me translate. We are going to create a bunch of rules that only a place like Cox will be able to follow and we are going to allow Cox to charge whatever they want for it.
Later on is a reference to “Safeguard National Security” and to me that translates as: “when competition that is funded by sources we don’t like we will revoke their ability to do business”. Again, I get National Security is important and we certainly don’t wany anyone spying on traffic . . . but we don’t want ANY of the ISP’s spying right? Not just the ones funded by China?
Maybe the positive thing is “Protect the Open Internet” but in the end the ISPs are going to get what they wanted anyway . . . the ability to CHARGE for an Open Internet.
Very strange to me to pick on a particular company using legislation. But so many people are happy about it including most of congress, Biden, Gruber, most of the hosts at All In. Just seems so strange to be agreeing with Sacks. Even a survey of close friends gets either a meh or a good. I think that if this app gives China a way to spy on Americans or tweak the algorithm in ways to influence Americans we should go up a level and hold Google and Apple responsible and making the kind of spying they are doing impossible. And make all companies share what goes into algorithms instead of banning one company. What am I missing?
For the last several years Heatsync Labs has held an event called HAXMAS where card holding members keep the lab open for at least 48 hours straight. The idea here is that with the lab open the public has time to MAKE the best Christmas gifts ever! Luis is the organizer of the event and takes on more than his share of hours.
Last year we had so much fun! As soon as the volunteer list opened I as I asked my 10 year old daughter and she jumped at the chance! She even surveyed her friends to see if they would be crazy enough to stay overnight in downtown Mesa and of course no one would. So that made it even more reasonable in her mind! 🙂
Spoiler alert: We had a fantastic time and will do it again next year!
We had a few different projects planned.
Individually addressable LED Graham Cracker house (our new tradition)
Finally put an E3D Revo Mini in a Prusa Mini that keeps clogging
Swap out dead battery from Razor Crazy Cart Shift with a battery from a drill
Finish up some outstanding “monthly box projects” that we get from Crunch Labs or the 3D printer focused ones we get from Alien3D.
Painting and jewelry and online design projects for Christmas gifts.
We brought ALOT of stuff to the lab. A Switch and a 50 inch TV. The crazy cart and the parts we needed to transform it. A bunch of Ridgid batteries and a charger. A bunch of Milwaukee 12 volt tools just in case! A box full of candy and other Graham Cracker decoration and creation stuff. Several bins with tools and strings and strings of LEDs. The Alien3D boxes. A broken 3D printer and the parts to fix it. Pillows and air mattresses and blankets to stay warm and take a nap. The wagon to carry some of it.
LED Graham Cracker house and Art projects
The one thing we DID NOT BRING was the half done LED Graham Cracker houses! We were already running late and didn’t have time to go back and get them. So cross that off the list!
Ems decided to work on designing decorations in Canva (using the iPad and iPen or whatever it’s called). She also painted and did some other crafts. She was so busy with that stuff and playing on the Switch that she stayed up all night and we even took the crazy cart over to Lost Dutchman and got breakfast and hot chocolate a bit past 7am.
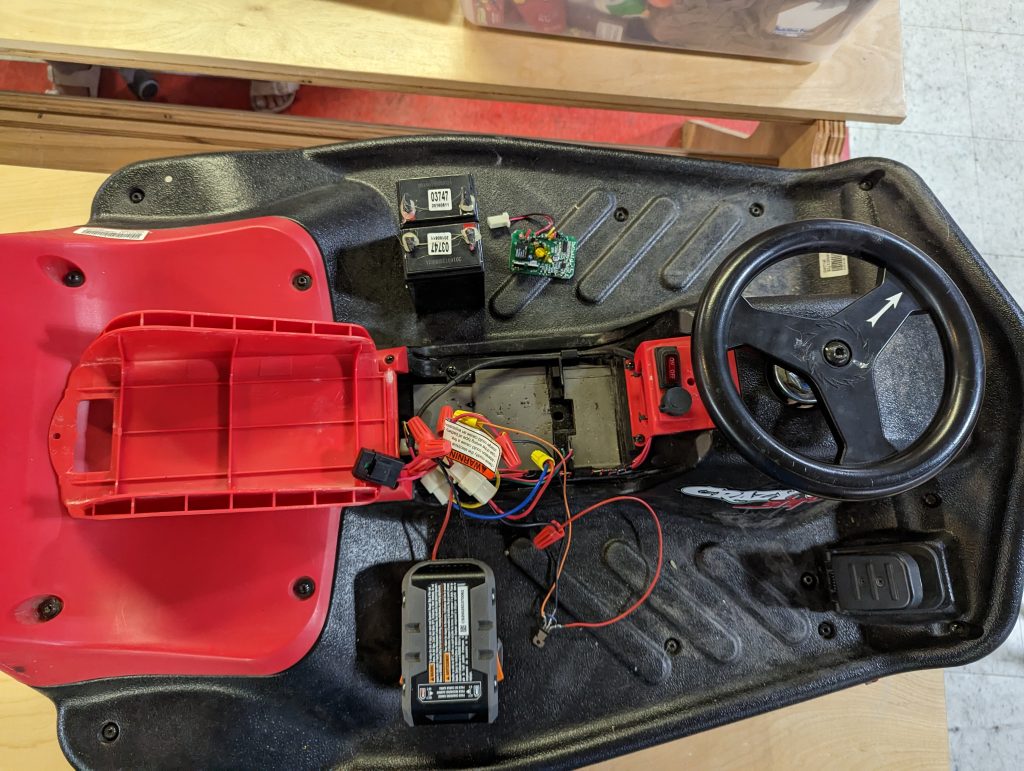
Crazy Cart Drill Battery Replacement
When we arrived, there were several people there (the regulars!). I opened up the crazy cart to get to work and they couldn’t help but ask what was up. I showed them what I wanted to do with the battery from the drill. In true Heatsync fashion, they all jumped in with ideas and one of them figured it all out and even contributed the transistor we needed to make it work!
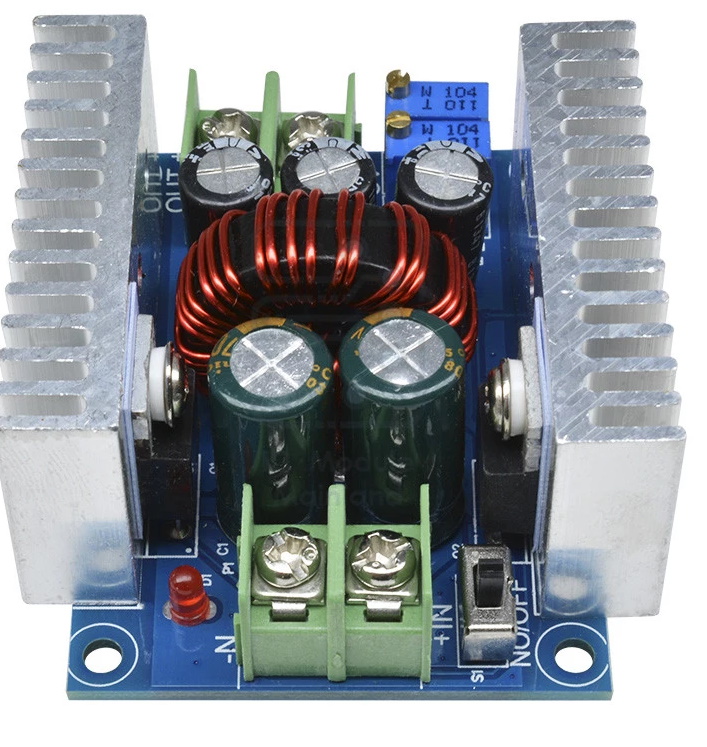
The first thing I noticed was that there were two 12 volt batteries wired in series so it was looking like my plan of adding an 18 volt battery using this adapter and dropping the voltage with this module was likely not going to work.
Ridged battery adapterVoltage drop module from Aliexpress
I tried the easy thing and just wired up the battery to the controller in place of the two dead 12 volt batteries and while it LOOKED and SOUNDED like it would work, alas, the controller was not sending the power to the motor. You could hear a clicking when you pressed the petal so it seems like the voltage was doing something but it wasn’t enough to engage the motor. Luckily, we were at Heatsync and David knew of an easy to hook up power supply where we could vary the voltage! So we connected that, set it to 24 volts, and boom, it worked! And it wasn’t even drawing that much power. Turns out the motor being used was really small compared to, say, an electric bike. We dropped the voltage to see when the controller would cut off power to the motor and it was around 19 volts. Damn! The easy route was dead.
We has SO MANY OPTIONS. Wire up 2 12 volt batteries from Milwaukee instead. Get a module to increase the voltage instead of decrease it. See if we could modify the controller (it was a simple looking board) to ignore it’s battery safety check since we didn’t need that. Wire in our own relay and replicate what the board was doing. And that’s just the beginning.
Luckily, Linwood was there and he had a brilliant idea . . . can we just use a simple high current transistor? Similar to what was already on the board?
The current control board did a few things. Charge the battery. Turn on the cart. Listen to feedback from the petal. The petal it turns out, was a bit more complicated. It had a simple switch like you might except but it also had a hall effect sensor that was sensing the magnetism of a bar magnet as it ran past the sensor as someone pressed the pedal further down. Luckily, it also had that simple switch. Now, instead of being able to vary the speed by varying the pressure on the pedal, you would instead have to pulse it on and off. Which is how most kids used it anyway!
Using some alligator clips (thanks again heatsync) we wired up the prototype. And it worked! We could turn on and off the motor with the pedal as long as we grounded the drain (which was common . . . it doesn’t take much voltage to activate the transistor). Hurray. We replaced the alligator clips with some wire nuts and set out to test how the transistor would fair under load. We knew it was fine with no resistance running for a few minutes but what if it was pushing around an 80 lbs kid?
Well, it went fine! Here is a picture of how it looked before the test with the old (on the top) and new parts (down below) in the picture.
Crazy Cart almost ready for a test
The transistor got warm but that was it . . . even after several minutes of running. Boom! Done! Thanks to Linwood for doing all the hard work and David and Nate for assisting! By then it was 10pm and I just spent some time soldering up the connections and replacing the wire nuts on all the connections except the battery.
3D printer fix fail
Next up was the 3D printer! The task was to replace a hot end that kept clogging (and was old . . had about 30 days of print time, so 720 hours) with an E3D Revo Micro using this guide. I printed the part I needed so all that was left was to take it apart and do it. This one was a huge failure. It was later at night and I didn’t pay attention and was twisting the hot end when I was twisting it on the new part and ended up ruining the spring. Hopefully I can just buy or make a replacement spring. The good news is I had another one ready and was able to replace it a few days later and since I did all that reading at HAXMAS it was a simple process.
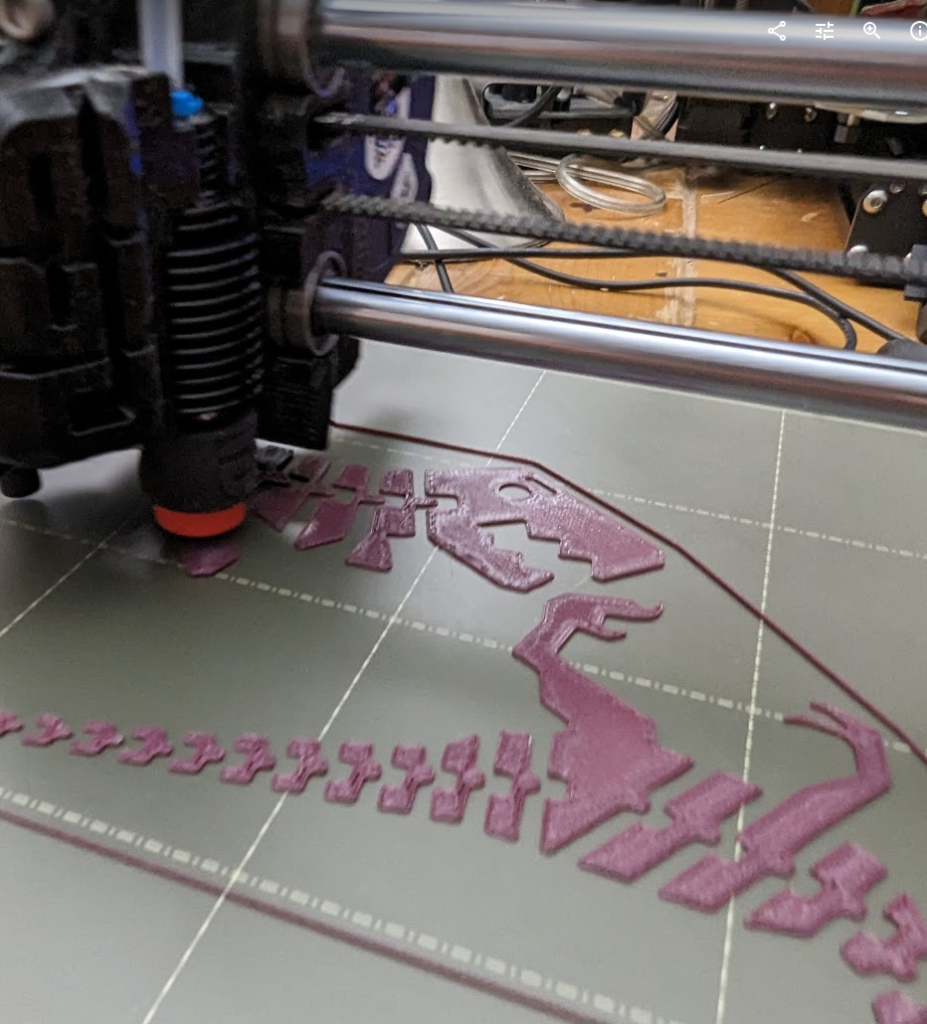
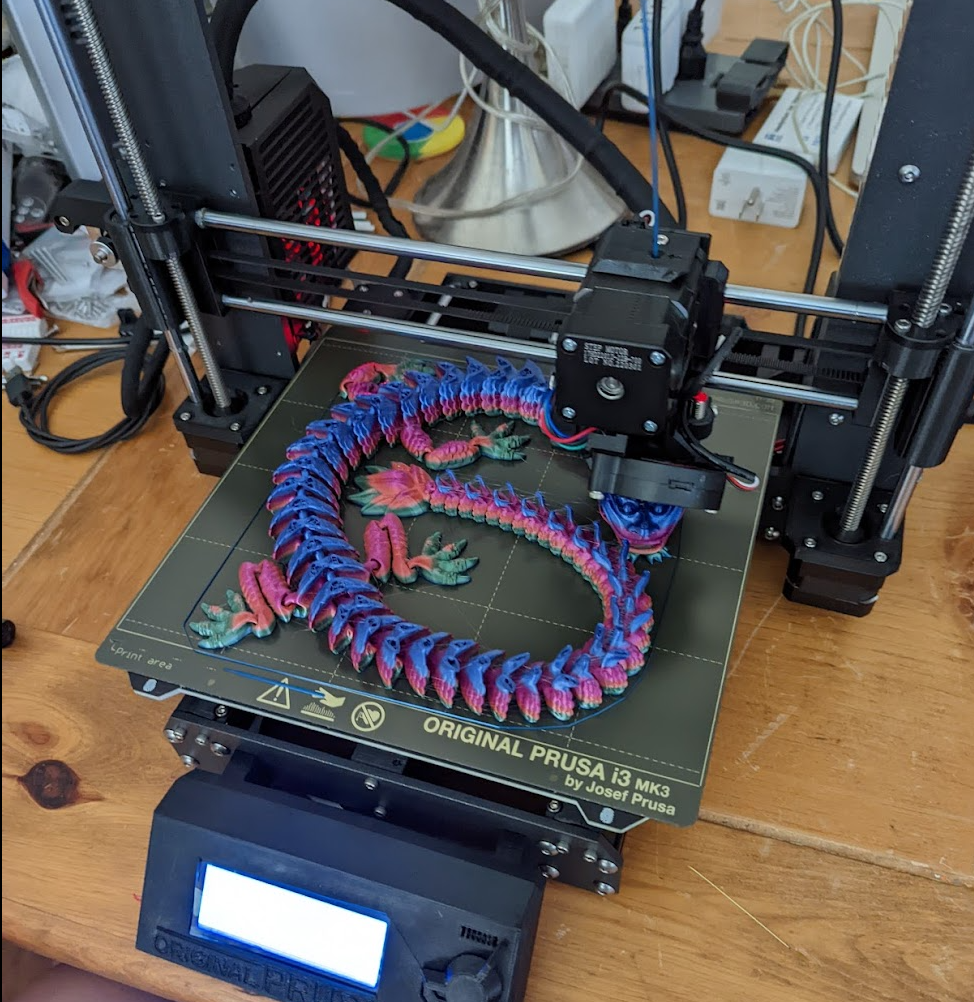
E3D Revo Micro on a Prusa Mini doing the dino test.
Switch Sports
It was nice having a TV in the lab. We could play Christmas music, take a break and watch Youtube. And of course play Switch Sports. Ems and I were pretty even and I think we stopped playing when we were tied! Luis played too though it might have been too early to really get into it since it was 6am when he showed up.
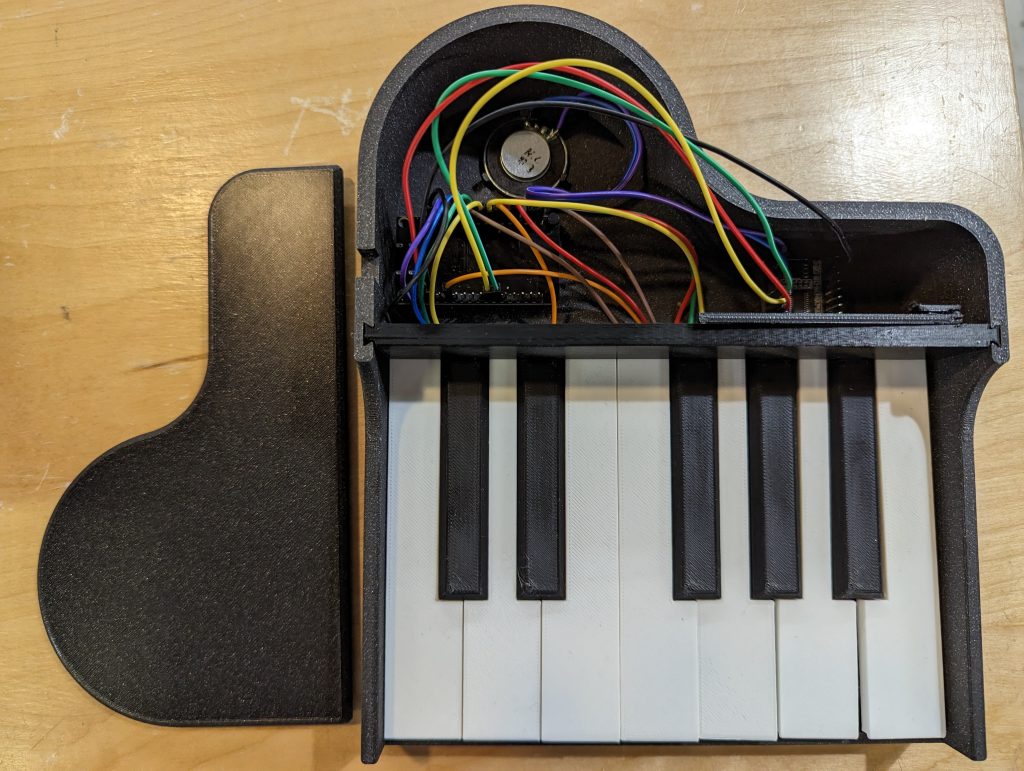
Piano from Alien3d
I got this project back in October as my first Alien3D box. I had already printed out all the parts but dreaded doing the soldering of the 12 tiny buttons. And then all those wires! Heatsync was the perfect location to get me past the hump since I had whatever I needed right there. Soldering station with all the wire cutters and flush cuts I could imagine. I powered though and here is the result!
The piano and the print itself is cool. And it’s really cool that so little code can play these sound files off of an SD card. But it has a slow response and isn’t loud enough to be all that useful. Fun overall but a disappointing result. I think the M&M sorter from December will be way more fun!
Tours, Downtown Mesa, and the reindeer and sleigh
Several groups walked by and walked in. I welcomed at least 5 groups myself and I wasn’t he only one doing tours. Eric and Nate did some for sure too. Ems and I printed out over 25 reindeer and 10 sleighs to give away to people that showed up. We also brought in some flush cut so that people could “make something right there”. A few people did that and a few people just brought them home. Some people want you to sit there and show them step by step. I liked those prints because they are a bit of a challenge if you haven’t seen the final project . . . but that’s the point! Anyway, one thing we could have done better there is write up a sheet that explained it all . . . . not just to people that walked in but to other volunteers! Next time for sure.
Reindeer production (felt like a happy little elf making all these!)
One let down this year was there was nothing going on outside of Heatsync. Last year there were food vendors and little shops open around the Christmas tree and it was just cool to just walk around. This year there was nothing like that.
Conclusion
HAXMAS is super fun and I wish more people knew about it and showed up to make stuff. Of course, I’ve invested a ton of time in Heatsync and understand how it works, know people, and am able to be productive there. I thought at first it was “a privilege” but this is something I have earned by putting it the time and effort. I find it was worth it but I get how it can be intimidating to just anyone walking in. I do wish we could get more people to participate though. If you have ideas let me know!
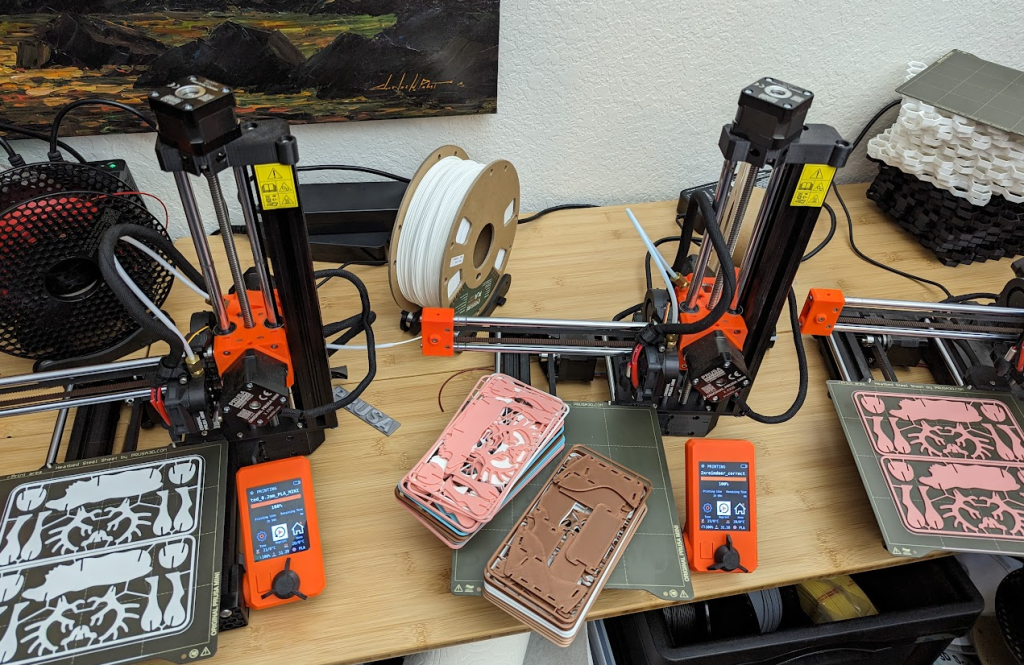
#myprusastory tldr; My first 3D printer was free because a friend couldn’t get it to work. I wanted to try a better printer but $750? Then the Prusa Mini was announced! 2 years later and now we have 7. We take them to events where we teach people how to model->slice->print.
Long story
I got a free 3D printer from a friend that just wanted to throw it away to avoid thinking about a $400 mistake. It was a Monoprice Maker Select Plus and I had it working over a weekend. Generally speaking it printed just fine to me. I didn’t know the difference! Eventually I got into the “3D YouTube Community”. I couldn’t help but think that a Prusa was better but $750?
On YouTube NO ONE WAS TALKING about the printer I had. When I searched for it the reviews were from many many years before. And most of the time it was either “meh” or that it’s got problems. Everything on Youtube was all about the Ender 3. Endless content about the Ender 3. And while I consider myself a tinkerer . . . the effort people were putting into an Ender 3 to “make it good” seemed crazy to me. Why not spend more and get a Prusa MK3?
In October of 2019, the Prusa Mini was announced! I was nervous to buy it because it looked so . . . fragile. But then the reviews came out and it was generally positive including the fact that the prints were really high quality. I finally ordered it in December of 2019 but the wait was 5 months!
In the meantime, I learned a ton about the Ender 3 and Creality just from watching YouTube. During the time from December of 2019 to May of 2020, Creality put the CR-6 SE on Kickstarter. It seemed to be everything the Prusa Mini was but with a way bigger print area (even bigger than a Prusa Mk3!) and it had all the features that people were adding to the Ender 3 (dual Z motors, auto bed leveling, better extruder and hot end, etc.). I got caught up in the Kickstarter hype (thanks alot Joel!) and ordered that too.
They both arrived within a few months of each other. While on paper the only big difference was that the CR-6 SE had a glass bed and the Prusa Mini had a spring sheet, everything else beside build volume was supposedly the same. But it SOOO WASN’T. The firmware for the CR-6 SE was never updated. Once again, thanks to YouTube, I found out that it was best to use the “Community Edition” of the firmware. One I installed that the printer was pretty reliable but I still hated switching the filament and the glass was just a horrible decision and I would avoid printing anything with too big a print surface because it would be impossible to remove. Sometimes it would cool and the part would pop right off and sometimes it was back to the old scraper.
I never had any of those issues with the Prusa Mini. Changing filament was so easy. And so was popping stuff off the bed. Eventually it was the only printer I would use unless I needed a bigger build volume. I ordered another one a few months later. The mini wasn’t PERFECT and if I switched out filament types, like PETG back to PLA, then I would end up clogging the printer and it took me several hours over several weeks to figure out how to clear out those clogs. The issue manifest itself as the extruder clicking and I spent a long time thinking that was broken. But that didn’t happen often and it wasn’t all that hard to fix once I figured it out.
During all this time, I was still tinkering with the old Monoprice. I even bought another one because they were on sale for less than $200 (and then were canceled shortly after . . .damn you Monoprice!). I put on these cheap removeable beds. I added Raspberry Pis. I changed out the extruder handle for a metal one. I tried all metal hot ends but they were forever clogging up so I put the old ones back in. I added a BL Touch after updating the firmware to the excellent firmware ADVi3++ which revealed it had a color touch screen the whole time! I was able to do “tuning” on the printer so much easier. They printed okay but always had what I call “shaky lines”. And nothing that had moving parts would print well either. I heard that was cooling so I printed a Cii cooling fan shroud (using PC Blend filament on the Prusa Mini) and got a new way powerful fan. After installing that now I can’t print at all because of heat issues after the first layer. What? Anyway, one more thing to fix. But I did make it way easier to use with just the removable beds. The BLTouch . . . I’m not sure that’s been worth it although I do like that I just need to adjust the z-offset sometimes and I don’t have to level the entire bed all the time.
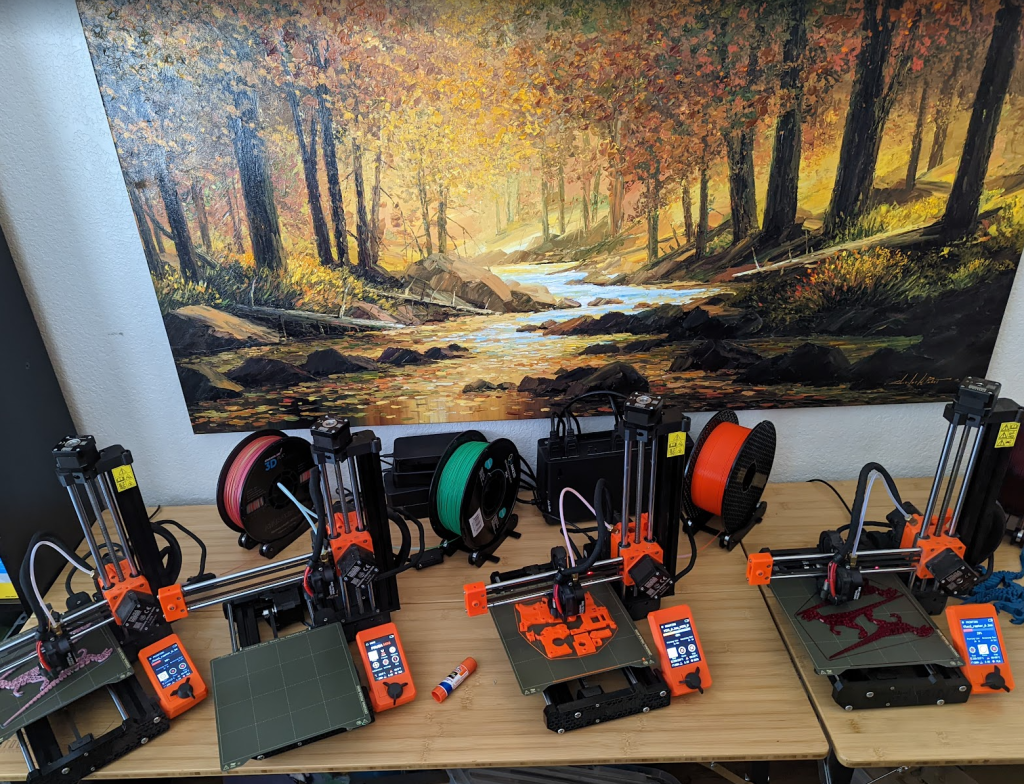
Meanwhile, I just kept ordering a new Prusa Mini whenever I had a little more money. Two years later and now I have 7. Two of them we leave at my wifes’ school and she teaches the kids there about them.
4 of the Prusa Mini’s hard at work
We took them all to Southwest Maker Fair and that was so fun. The model->slice->print idea was a huge success. And we also teach at my wife’s school at an after school program. Everyone gets so much joy out of seeing something they made come to life (even if it’s something simple like a 2 color name plate!). And of course, I print out stuff for around the house or for school projects or just stuff we think is interesting. It would be cool to find a way to make money with them so we can at least pay for filament . . . but they total bring me $400 * 7 amount of joy, that’s for sure.
I always wanted to get an Original Prusa MK3 but they had been out for SOOO LOOONG . . are they really that good still? The only have 8 bit boards and speak and spell like screens. Seems like such a downgrade. Once again Joel changed my mind on them when he bought like 30 of them to open a shop. That said I never was able to pull the trigger. But I kept seeing them on Aliexpress and the like . . . could the parts really be that good? The MK3S+ printer is completely open source and has been out for over 5 years so by now they must have it figured out, right? For $350 I decided to give a shot! Once I got it working it seemed FLAWLESS (especially after I ordered a real original Prusa spring sheet . . . the knockoff one is horrible). Will it last as long as a Prusa? Probably not. But how could I know for sure unless I got a real Prusa MK3S+ right? Maybe I’ll win one with the #myprusastory contest!
I get some variation of this question all the time. Sometimes it comes with some set of parameters like “to use in a classroom” or “we can spend about $300” or “I need to print figures in high detail”. The trouble is my opinion is limited to my own experience . . . it’s not like I do 3D printer reviews (though I would if someone wants to send me one!). I have personally worked with less than 10 different models of printers across only 4 bands.
Just the other day I saw these “Kingroon” printers on a little known youtube channel. He had at least 16 of them and must have really believed in them. I looked it up and they were only $180! What the? I almost ordered it from Amazon as an impulse buy but then I remembered I have enough printers to fix right now.
After a bit more research, I’m glad I didn’t get one. It doesn’t have all the essentials features I list below.
Goals
3D printing, as a hobby or even a full time job, is a spectrum of “I want a tool” to “I like to tinker with my tools”. One extreme is that you want a tool to make prints on demand with little fuss. The other end is you like the mechanics of this tool and want to challenge yourself to make that tool more powerful and the printing itself is beside the point.
Much like the RC cars, if you don’t enjoy fixing things then having a 3D printer as a tool only is going to get expensive fast. So in generally you have to be a bit handy or you may as well just outsource your printing.
While I’m not afraid to fix a problem here or there and take apart a printer to fix a problem, I value 3D printers as a tool. And to me, the tool has to be reliable and there for you when you want to do something. The cheaper $200 printers are missing a few key features that I couldn’t live without. Some of them, like the Kingroon, have ONE or TWO of these but to me the price isn’t worth the extra hassle of a DIY solution and for some things, no amount of DIY is going to make up for the missing feature.
Must have features
A removable and flexible bed is key. Glass beds are okay and usually when the bed cools the parts are easier to remove but not always. Whenever you have to get out the scraper you are just asking for trouble. Damage to your knuckles or to the printer bed itself are going to happen. If the bed is not removable and flexible then the printer is not usable.
An auto bed leveling (ABL) system. Messing around with trying to get the bed level is super frustrating and with time constraints (like at a school) it’s just not worth it. You can generally add on ABL to most printers, especially the Ender 3, but often you have clunky solutions (like this daughterboard you add to the Ender 3 before they released a more modern board) and on the Kingroon, you had to write the z-index to the firmware and can’t control it via the UI which to me seems unforgivable. Plus, when you add on ABL to a printer that means you have a manual process and Abl to deal with. Printers where ABL is a first class citizen have no way to manually level the bed.
Easy filament changes. I have used many different printers with 6 systems and the only one that’s even CLOSE to easy is the one you get with a Prusa Mini. It’s difficult to explain how much better it is. It’s automated and you don’t have to make guesses about what you need to do . . . the printer walks you through it step by step. In other printers you have to manually heat up the filament head and try to feed the filament through a strange path and just keep pressing till you see stuff oozing out. Don’t get me started on how bad it is on a Creality CR-6 SE or other Creality printers. And this can be made better by using a community firmware and some mods to the printer but that’s not always an option.
It must be easy to work on . . . . something is going to break on just about any 3D printer you get (maybe unless you go in the $4k+ price range?) and being able to work on it and get parts matters. It’s not always easy to get parts on account of shortages all around but being a printer that uses parts other printers use helps. Very popular printers like the Ender 3 have availailby at 10/10 where you can get just about anything fro Amaon vs a Prusa where you get parts from them and maybe one or two other places and certainly not amazon. Beside parts, the design of the printer should make it so you can get to everything and make common repairs without having to tear the entire printer apart.
It must be popular in the community and well regarded. Like I said before, something is always going to go wrong. A strong community means you have help online when you are trying to fix something. Company support is nice too though not many companies have any kind of real support. I’ve only interacted with Prusa a few times and they have RESPONDED which is about as good as it gets when you are trying to explain a technical problem and you don’t quite have the words. Seeing presence on youtube outside the manufacturer helps too. A sold community firmware is a good indicator of a strong platform too though you don’t see that with Prusa since Prusa support their printers and provide sold updates.
Printer profiles in popular slicing programs. We have those old Lulzbot printers and one of the biggest issues I have with them is that they only work with some janky and old version of Lulzbot Cura and don’t have profiles setup in the latest Cura. Even new Lulzbot printers are not in the regular Cura and that’s a bad sign. Yeah, yeah, I know, you can get it to work by copying over the values and tweaking it but spending all day printing and tweaking profiles sounds like work for a youtuber, not me.
Truth is, there are lots of 3D printers that have all that and are in the $400 price range. I don’t have the money to buy and try them all! But I really like the Prusa Mini. Part of that is just love for the Prusa brand thanks to their marketing no doubt. But $350 for a 5 hour kit or $400 for a 30 minute build isn’t bad. They cost more than an Ender 3 and other cheap printers but they have all of the features that HAVE TO BE THERE. They are not perfect and I do have to unclog a print head from time to time. And I have had to replace a thermistor. I printed PETG directly on a PEI build plate and I ripped the PEI right off and ruined the $30 build plate. And cheap filament always causes issues. Outside that they are fantastic printers. We had zero issues with them the day of SWMF. That seems crazy to me looking back on it.
If you need a bigger build volume than a Prusa Mini, again, there are many options and a few are cheaper than the Prusa MK3S which is the sorta “standard size” 3D printer. You can get even bigger printers but everything I have seen leads me to belive they are fun but not a reliable workhorse and just scaling up a printer design just doesn’t work.
In many ways the Prusa MK3S is a downgrade from the mini on account of the 8-bit board and Speak and Spell screen. I don’t even have one right now but do want to get one this year just to compare it to some clones I have already. The nice thing about Prusa is that they support their printers long after they are sold in the form of updates to the firmware, updates to PrusaSlicer, and updates to the hardware itself that you can buy. That’s not true for Creality and other brands I have seen.
For resin printers, I haven’t used any but I like the Anycubic mono. The Elegoo lineup is doing shady stuff with locking people into a slicer and that just feels very much against the spirit of 3D printing.