As soon as I saw anything about the Switch 2 I knew we had to get it. I mean, it’s the only way to play the latest Mario games and me and the kids have had SO MUCH FUN with Super Mario 3D World over the years I just can’t imagine not playing the latest. We loved that game so much we that we purchased at least 3 or 4 times, once on the Wii U, once digitally on the Switch, and once on a game card or two. And that’s just one game. We also loved Super Mario Odyssey (and I’ll still never get over the ending and how I finally figured out I could become bowser . . . me and Embrie LOST IT!) and don’t get me started on how many times we bought that.
As I kid, I didn’t have a “Nintendo”. My first consoles were XBox (it could play media! it was more than just about gaming!) and a PS2 when I was in my 20s or 30s. I really only cared about GTA. That’s also why I got a PS4 later and why I might get a PS5 next year. I’m not really a gamer. When the Wii was first announced I’m pretty sure I was at E3 or at least watching E3 or some big conference like that. I thought the name was dumb but I was super excited. It was a console for CASUAL GAMERS like me! The Wii was so important and so hyped for me that my friend Jim and I setup a tent outside of Target to wait in line to get it the morning it was released. I’ll never forget the joy of that purchase followed by the pain of some guy that just walked in 10 minutes after the line was gone that also bought the Wii. That console was in short supply for years! Sooooo worth it! I remember toting it with me whenever I was visiting someone. I swear I sold at least 100 of them.
I was also hyped about the Switch when it came out but I didn’t wait in line. It was so unremarkable I don’t even remember when I bought it, only that I bought it within the first few months. It was in short supply and maybe the lack of hype existed for a reason.
The Switch 2 was different . . . it wasn’t even about the console itself or even the launch game . . . I never really cared for Mario Cart. The core driver is that I wanted my kids to feel that hype I felt back in 2006. I wanted them to get to play the same console the youtubers were playing! I wanted them to be part of the hype. Playing it and being excited about it 2 years later just isn’t the same.
I tried to pre-order it. No luck. I signed up to purchase it right from Nintendo. As a subscriber to their “online” for as long as it has existed, along with our play time, I thought for sure we’d be first up. Nintendo said nothing.
Launch day was June 6th, a Thursday, but many retailers like Walmart, Best Buy and Costco said they would have a stock on sale at online at midnight on Wednesday. Best Buy said they would open stores late and sell it but no other retailer made that claim. Later on I saw they meant midnight Eastern time so 9pm AZ time. I set an alarm to buy at 9pm and it was disappointment all around. Walmart had a countdown to when it was on sale and then at 9pm the site changed nothing and I couldn’t even find a link to the console let alone buy it. Costco changed nothing and it wasn’t for sale. Target also had nothing. Best Buy also had nothing online. I was . . . disappointed.
Earlier I had joked with the kids that we were going to go to Best Buy at midnight to try to buy it. I thought for sure they knew I was joking and would just go to bed at 9pm like usual. When I was looking to buy the console online, I noticed that Best Buy said it was going to go on sale at 9pm. Dexter came into the office to let me know he had his shoes on and was ready to go. After all of the disappointment with every other retailer I gathered the kids (who were UNUSUALLY excited for an adventure) and we were off! Dexter was nervous at first and checked with me if we could go back home if he was scared. I assured we would go back home but also showed him that other people were outside and we were in no danger. Just seemed so strange to me because it’s not like we live a sheltered life . . . we go on night time bike rides a few times a year!
I tried to temper expectations . . . not for them . . . but for me! I kept saying over and over there was no way we would get it.
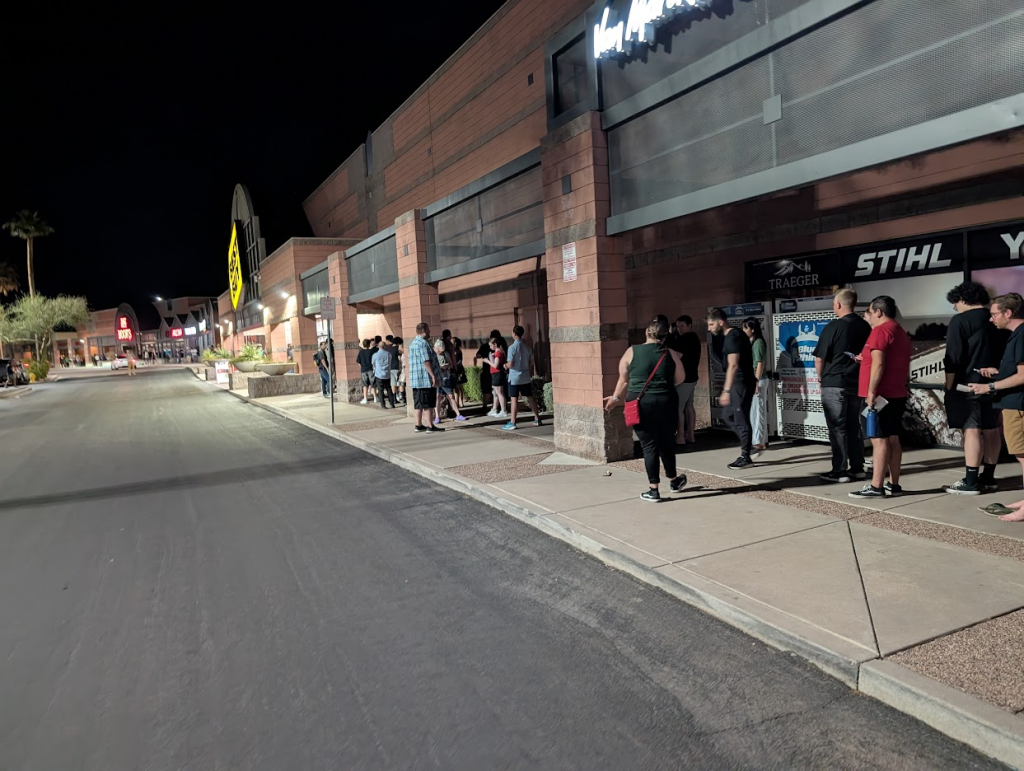
When we arrived . . . the lines were LONG. I dropped of Embrie to jump in one while I parked the truck. Dexter and I went to the front to see what each line was for. Luckily the line Embrie was in was the right line. One was pre-orders, the other was for buy now.
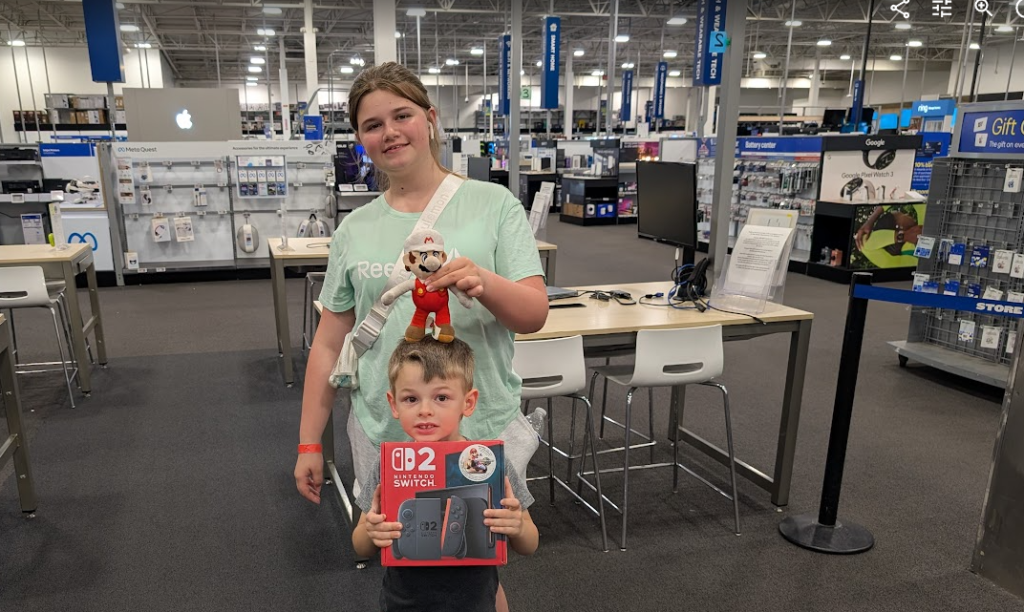
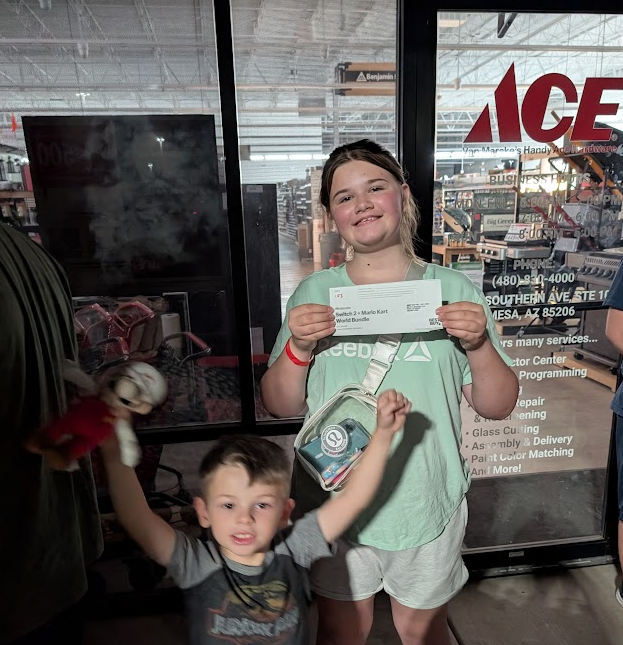
While we were parking, Embrie was frantically calling. They were handing out vouchers and she wanted to know if we get the bundle or the console! Luckily, the guy handing out vouchers said she wanted the bundle and gave her the bundle voucher. We got #53 of 55. Things were looking up! Not even 5 minutes in and we have a reason to stay! And she got the 3rd to last of the bundles all because she was willing to jump out of the truck!
We waited for over 2 hours. The line was moving! It was promising. It seemed they were taking people from each side of the line. But after getting closer to the front, we could see the pre-order line was NOT moving. We didn’t know WHY until we got inside.
The were only letting one family in at a time even when they had many many associates there. It made very little sense. But once inside we understood why . . . they couldn’t sell the console! It was a HUGE mess. The only way to buy anything was to get the Best Buy app and do a self checkout. They couldn’t check people out at the register! They kept getting an error about how the item wasn’t for sale yet. The line for preorder wasn’t moving and my guess is they tried to sell pre-orders using the app and it didn’t work so they all had to wait till after midnight.
That they were open at all and that the staff worked hard through something they didn’t have control over and gave us that voucher to get us excited is why I changed my Google Maps review from 1 star to 5 for Best Buy. I generally haven’t had good luck with them as a retailer but I don’t want to get into that. It was awesome they saw the Switch 2 launch the same way we did and they were excited to sell it as soon as they could. They didn’t force you to buy a bundle with a controller and game and some cheap accessory. When we first went to purchase, I WAS going to buy about $200 more in stuff just to say thanks for being open . . . but having to get the app and buy it that way didn’t sit well after they convinced me to get a Best Buy Credit Card that I couldn’t use in the app.
Nicely done workers at Best Buy! You are the best and we are so glad you were there to have us and it was more exciting than any line at Disneyland. Boo to IT and management for not having a work around for the broken cash registers. You failed Best Buy but also you were awesome and the front line employees saved you once again. Thanks Best Buy.